Rendering meshes in VTK
Deborah Schmidt
Helmholtz Imaging | MDC Berlin
Sep 25, 2024

Slides available at https://ida-mdc.github.io/workshop-visualization/tutorial-mesh-rendering-vtk/
Introduction
- Python based 3D visualization tool
- Supports various formats (STL, OBJ, PLY, ..)
- Advanced rendering capabilities (volume rendering, surface rendering, light and material configuration)
- Supports programmatic animations

Solution to run VTK code
To simplify and unify solutions used in our tutorials, we use Album, a tool for capturing and sharing specific software use cases in dedicated virtual environments.
Click the solution box next to this text and follow the displayed usage instructions to run the solution either from command line or graphical interface.
Visualize meshes in VTK
visualization:visualize-meshes-vtk:0.1.0Displays meshes and optionally renders them to video.
Close solution
Visualize meshes in VTK
visualization:visualize-meshes-vtk:0.1.0Displays meshes and optionally renders them to video.
- License: MIT
- Solution creator(s): Deborah Schmidt
Usage:
album install visualization:visualize-meshes-vtk:0.1.0
album run visualization:visualize-meshes-vtk:0.1.0
    --meshes # (directory): Path to the meshes. [Default: ] [Required: Yes]
    --volume # (file): Optional volume to render next to the meshes. [Default: ] [Required: No]
    --include # (string): List of names of elements which should be loaded, comma separated [Default: ] [Required: No]
    --exclude # (string): List of names of elements which should not be loaded, comma separated [Default: ] [Required: No]
    --colormap # (string): Name of the matplotlib colormap to use for coloring meshes. [Default: viridis] [Required: No]
    --output_mp4 # (file): If provided, the result is not visualized in a window, but rendered to this path. [Default: ] [Required: No]
    --size # (string): Size of the video in WxH (i.e. "800x600") [Default: 1600x900] [Required: No]
    --exclude_zero # (boolean): Exclude 0 as a label when processing the volumes. [Default: 1] [Required: No]
Cite the following resources if you use this solution:
Dependencies
316    dependencies={'environment_file': """channels:
317  - conda-forge
318  - defaults
319dependencies:
320  - python=3.9
321  - pandas=1.5.3
322  - matplotlib-base=3.7.0
323  - numpy=1.24.2
324  - vtk=9.2.6
325  - numpy-stl=3.0.1
326  - opencv=4.8.0
327  - pip
328  - pip:
329    - vtkplotlib==2.1.0
330    - imagecodecs
331    - tifffile==2023.9.26
332"""}
Setting the scene
- The renderer: Manages the 3D scene by adding objects (called actors), processing lighting, and handling the camera to control how the scene is displayed.
- Central component in VTK: The renderer is responsible for compositing all elements (meshes, volumes, etc.) and rendering them into a final image or interactive display.
97 renderer = vtk.vtkRenderer()Loading and Adding Meshes
- Load STL files via
vtkSTLReader - Coloring Meshes via
actor.GetProperty().SetColor()
119        reader = vtk.vtkSTLReader()
120        reader.SetFileName(vtk_file)
121        reader.Update()
122        # Create mapper and actor
123        mapper = vtk.vtkPolyDataMapper()
124        mapper.SetInputConnection(reader.GetOutputPort())
125
126        actor = vtk.vtkActor()
127        actor.SetMapper(mapper)
128
129        color_rgba = cmap(norm(i))
130        actor.GetProperty().SetColor(color_rgba[:3])
131
132        renderer.AddActor(actor)
Loading and Adding Voxel Volumes
Numpy to VTK Conversion
45    from tifffile import imread
46    import numpy as np
47    import vtk
48    from vtk.util import numpy_support
49
50    tiff_data = imread(volume).astype(np.uint16)
51    # Calculating min and max values from tiff_data
52    min_val = tiff_data.min()
53    max_val = tiff_data.max()
54
55    imageData = vtk.vtkImageData()
56    imageData.SetDimensions(tiff_data.shape)
57    imageData.SetSpacing((1, 1, 1))
58
59    # Efficiently converting the whole numpy array to VTK array
60    vtk_array = numpy_support.numpy_to_vtk(num_array=tiff_data.ravel(), deep=True, array_type=vtk.VTK_UNSIGNED_CHAR)
61    imageData.GetPointData().SetScalars(vtk_array)
Loading and Adding Voxel Volumes
Color and Opacity Transfer Functions
63    # Setting up color and opacity transfer functions
64    colorTransferFunction = vtk.vtkColorTransferFunction()
65    colorTransferFunction.AddRGBPoint(min_val, 0, 0, 0)  # Mapping min_val to black
66    colorTransferFunction.AddRGBPoint(max_val, 1, 1, 1)  # Mapping max_val to white
67
68    opacityTransferFunction = vtk.vtkPiecewiseFunction()
69    opacityTransferFunction.AddPoint(min_val, 0.0)  # Fully transparent at min_val
70    opacityTransferFunction.AddPoint(max_val, 0.5)  # Semi-transparent at max_val
71
72    volumeProperty = vtk.vtkVolumeProperty()
73    volumeProperty.SetColor(colorTransferFunction)
74    volumeProperty.SetScalarOpacity(opacityTransferFunction)
Loading and Adding Voxel Volumes
Creating a Volume Node
76    volume = vtk.vtkVolume()
77    volumeMapper = vtk.vtkSmartVolumeMapper()
78    volumeMapper.SetInputData(imageData)
79    volume.SetProperty(volumeProperty)
80    volume.SetMapper(volumeMapper)
Creating the Render Window
- Render Window: Manages the actual window where the scene is displayed.
- RenderWindowInteractor: Allows for interactive control of the 3D scene using mouse and keyboard inputs.
33    renderWindow = vtk.vtkRenderWindow()
34    renderWindow.AddRenderer(renderer)
35
36    if output_mp4:
37        render_video(output_mp4, rendering_size, renderWindow, renderer)
38    else:
39        render_window_interactor = vtk.vtkRenderWindowInteractor()
40        render_window_interactor.SetRenderWindow(renderWindow)
41        render_window_interactor.Start()
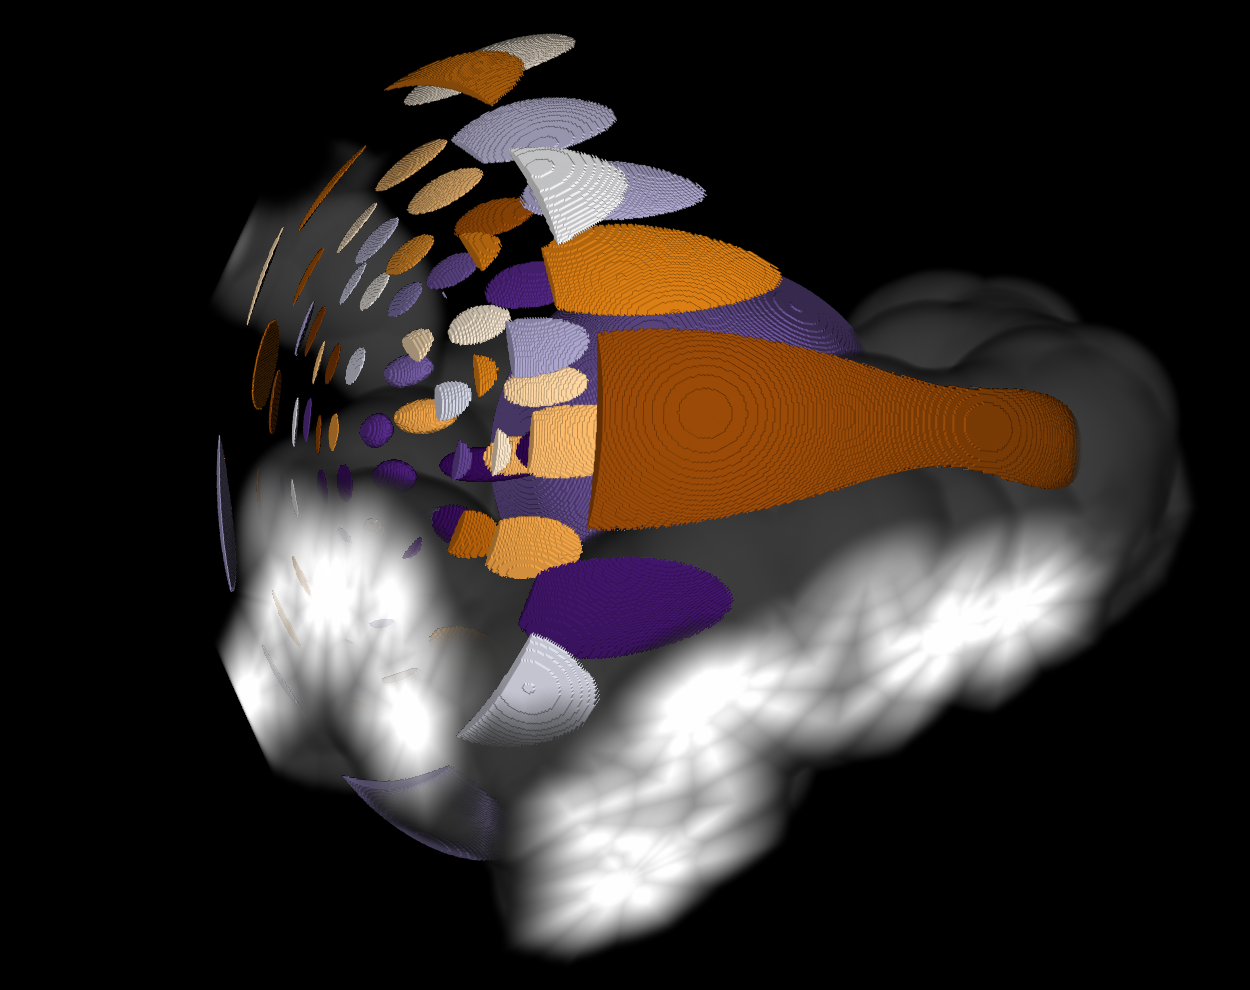
Result

Meshes and volume in one view.