Microscopy Nodes in Blender

Installing Microscopy Nodes
Steps:
- Open Blender and go to Edit → Preferences.
- Select the Get Extensions tab.
- Search for “Microscopy Nodes”.
- Click Install.
Loading a dataset
Steps:
- Delete everything in the scene.
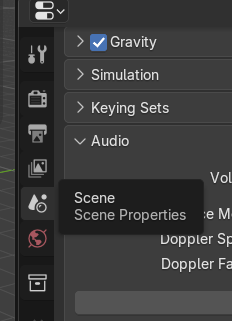
- Open the Scene Properties tab.
- Enter a
.zarror.tifpath (can be a URL or a file on your machine).

Loading the file populates its metadata. Microscopy Nodes also writes this file to your temp directory (the path can be changed).

Choosing a scale

- Prefer a smaller scale while building the scene.
- Reload at higher resolution once you’re happy with the setup.
Checking the metadata

- Check the pixel size (xy and z).
- Check the axes/dimension order.
Per-channel settings
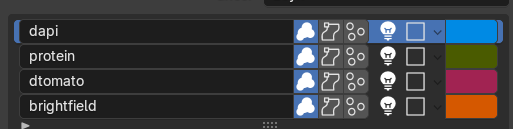
- Name: choose or change the channel’s name.
- Load mode:
- Volume: keep raw intensity values.
- Surface: extract a mesh at a chosen intensity threshold.
- Labelmask: use for an already-segmented label image.
- Light interaction:
- Emission: the channel emits light in the scene.
- Scattering: the channel reflects light; better suited for denser objects.
- Color: pick a per-channel color, or a non-linear colormap.
Loading into the scene
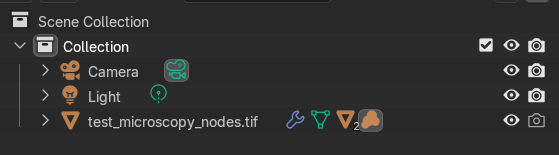
Click Load and you’ll see the dataset and its objects in the Scene Collection.
Viewing the volume
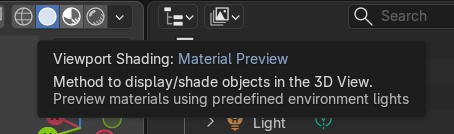
To see your volume, switch the viewport shading from Solid (suited for meshes) to Material Preview (faster) or Rendered (more accurate).
Isolating a single channel
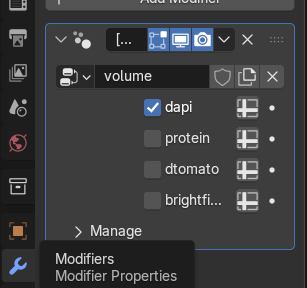
To focus on one channel while editing its shader, open the Modifiers tab and deselect (hide) the other channels, so only that channel is visible in the viewport.
Adjusting a channel’s look
To adjust the look of each channel, select the volume and click on the Shading tab (this is the material shading tab).

Color and opacity nodes
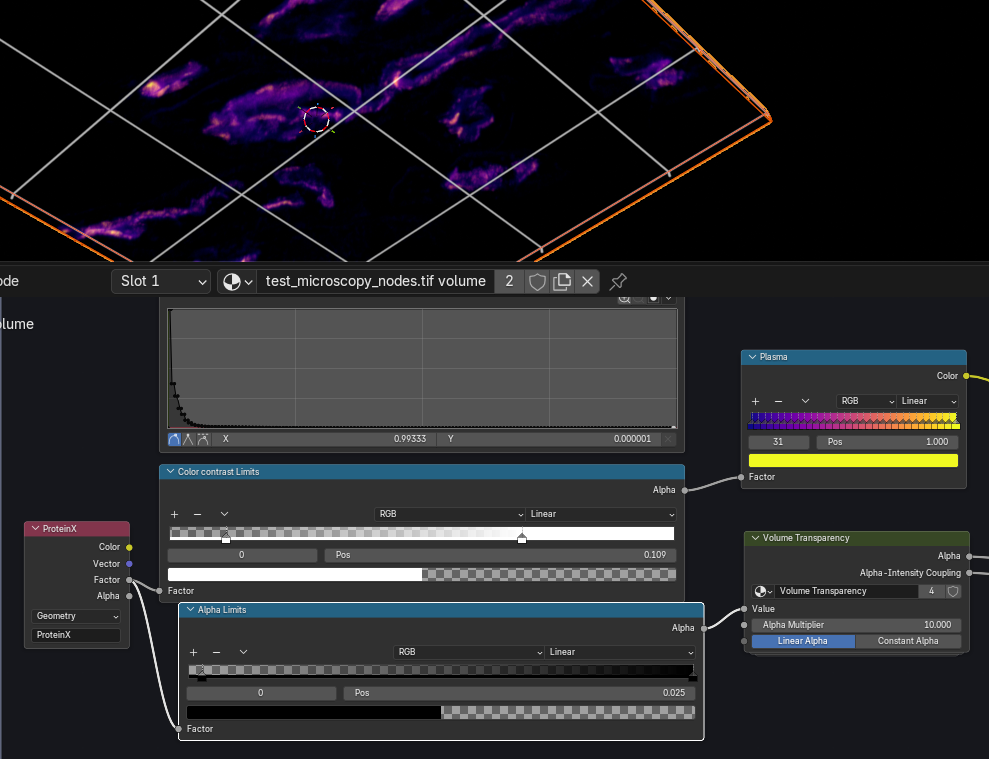
- Histogram: shows the channel’s pixel intensity histogram (view only, can’t be changed).
- Alpha Limits: change the opacity limits.
- Color Contrast Limits (the colormap pane): change the color, or right-click and choose a colormap.
- If you’re using a colormap (not a single color), you can also adjust the color contrast limits.
- Alpha Multiplier: change the opacity multiplier. For Emission channels this controls how much light is given off; for Scattering channels it controls how dense the volume looks.
You can also switch a channel between Emission and Scattering here, in the Microscopy Shading panel. Scattering won’t be visible until there’s a light set up in the scene (or the background is changed to white).
Reloading
You can also change settings back in the Scene Properties tab and click Reload. This also lets you switch to a higher resolution while keeping your existing setup (e.g. shader settings).
Loading a channel as a mesh
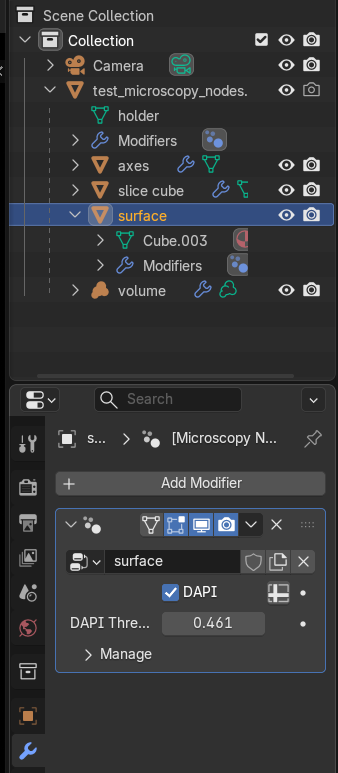
You can also load a channel as a mesh (Surface) instead of a volume. Select the surface object in the Scene Collection, then open the Modifiers tab, where you can set the intensity threshold used to extract the mesh.
Slicing the data
There’s also a slice cube object in the Scene Collection. Select it and move it to slice into the data.
Learning more
- Microscopy Nodes has a YouTube channel with tutorials covering these workflows in more depth.
- It has settings to support large datasets, including loading different resolutions for different regions of the same dataset.
- There are many more features beyond what’s covered here: check their docs and YouTube channel.